Inking the Characters
Ink the characters based on the draft to complete the main lines of the characters.
1On the [Layer] palette, select the "Draft" layer and change [Opacity] to 50% to make the inking easier to see.

2Click [New Raster Layer] on the [Layer] palette. Double click the layer name of the layer you have created and enter "Characters 1".
Change the stacking order of the layers so that the "Characters 1" layer is immediately above the "Border" layer, as "Characters 1" contains characters that will run over the frame border.
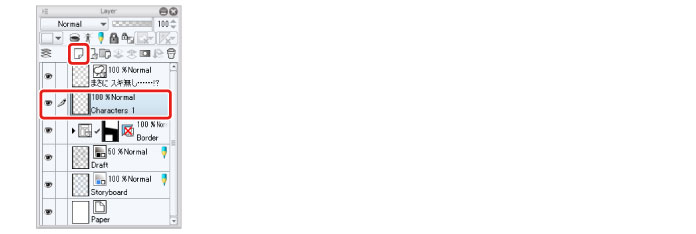
3Set black as the main color on the [Tool] palette.
4On the [Tool] palette, select the [Pen] tool → [Pen] → [G-pen] and draw the main lines of the character with black as the drawing color.

Draw the character, using the [Pen] tool to draw and the [Eraser] tool to make corrections.
5Draw the character in Frame 1 and the bust-up character in Frame 3 on the "Characters 1" layer.
If the balloons or border lines make it difficult to draw, hide them temporarily on the [Layer] palette.
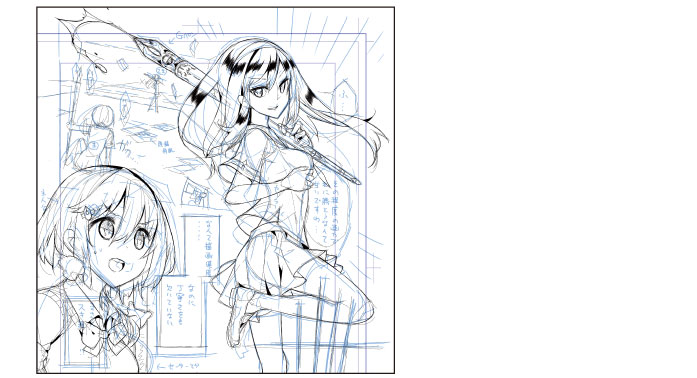
Drawing of the characters in Frames 1 and 3 is now complete.
|
|
[Anti-aliasing] is not applied to lines drawn in processes such as inking when the [Basic expression color] is Monochrome. This may cause the lines to look rough on the screen of your computer. |
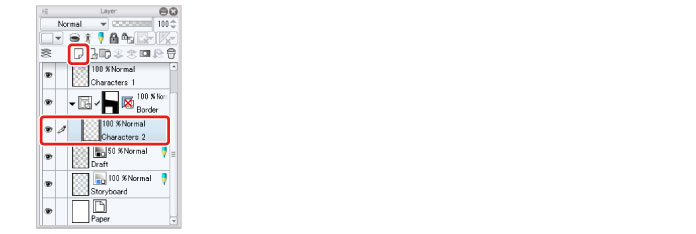
6Next, draw the main lines for the character in Frame 4. With the [Frame Border folder] selected, click [New Raster Layer] on the [Layer] palette. Change the layer name to "Characters 2".
The white area in the figure below is the area of the image that is displayed in the frames. Content drawn outside the border lines on the layers in the [Frame Border folder] is not displayed.
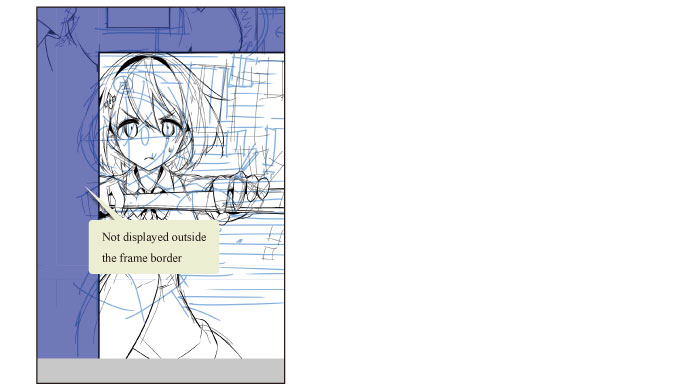
7Repeat this process to draw the front character in Frame 1 on the "Characters 2" layer.
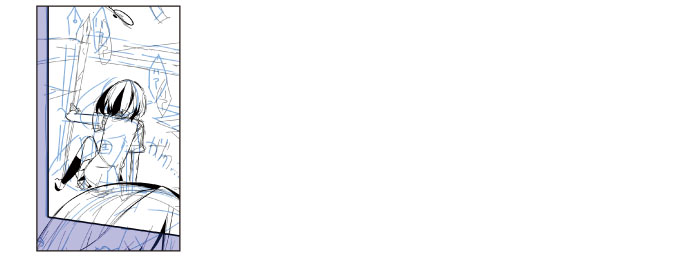
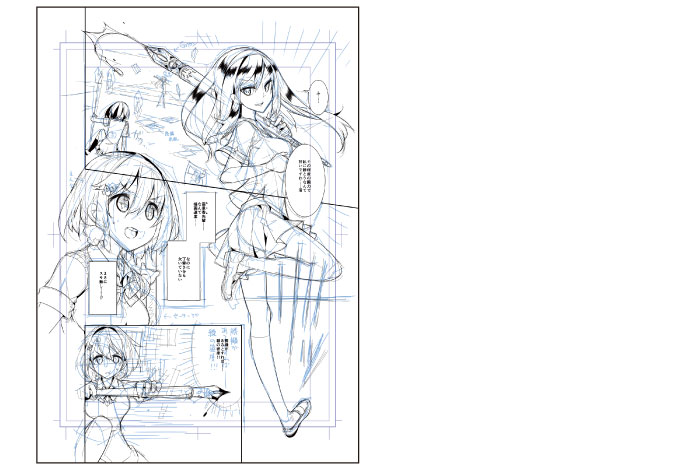
8The main lines of the characters are complete.
|
|
For details on inking, see "Try Drawing an Illustration in CLIP STUDIO PAINT: Basic Guide" → "Inking" . |


