Coloring the Skin
Create a layer and color the character's skin using the [Fill] tool.
Adding the Basic Color of the Skin
Create a new layer for coloring the skin and fill the drawn areas with the basic skin color.
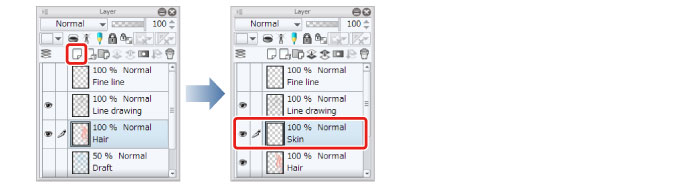
1Click [New Raster Layer] on the [Layer] palette. Double click the layer name of the layer you have created and change the layer name to "Skin".
2Select the [Fill] tool from the [Tool] palette and select [Refer other layers] from the [Sub tool] palette. Check that [Multiple referring] is turned on on the [Tool Property] palette.
|
|
Here we will configure the same settings for this tool as when coloring the hair. For details, see → "Basic Coloring" → "Coloring the Hair" → "Preparing the Tool" . |
3Select peach for the skin color on the [Color Wheel] palette.

4Click to fill the areas of exposed skin.

5Use the [Pen] tool to color small unfilled areas.
Use the [Pen] tool to color areas that are unfilled because there are a lot of lines, such as the ears and the areas around the eyes.

6The entire skin area has now been filled with the main color.