Coloring the Other Areas
Add a layer and color the other parts of the clothing.
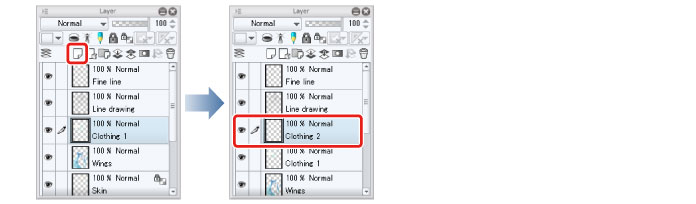
1Click [New Raster Layer] on the [Layer] palette to create a layer. Double click the layer name of the layer you have created and change the layer name to "Clothing 1".
2Select the [Fill] tool from the [Tool] palette and select [Refer other layers] from the [Sub tool] palette. Check that [Multiple referring] is turned on on the [Tool Property] palette.
|
|
Here we will configure the same settings for this tool as when coloring the hair. For details, see → "Basic Coloring" → "Coloring the Hair" → "Preparing the Tool" . |
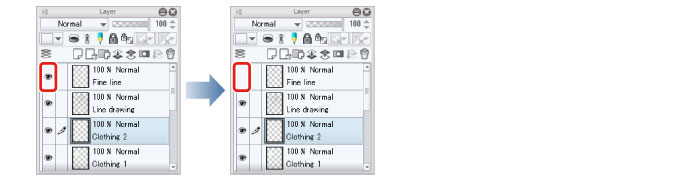
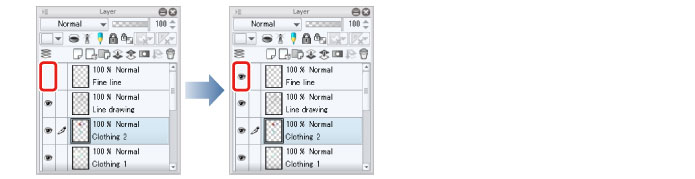
3Hide the "Fine line" layer temporarily on the [Layer] palette to fill the whole of large areas at once.
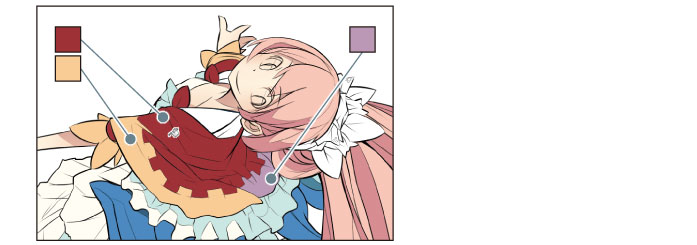
4Select the drawing color on the [Color Wheel] palette and add the base color of the stole using the [Fill] tool.
5After coloring is finished, show the "Fine line" layer again on the [Layer] palette.
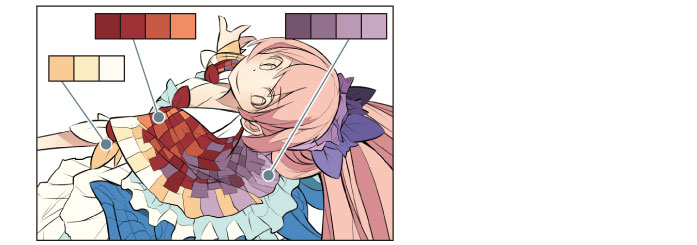
6Select the drawing color on the [Color Wheel] palette and add the colors of the checkered pattern using the [Fill] tool.
Create a layout of dark and light colors according to the base color and use these colors to color the checkered pattern.
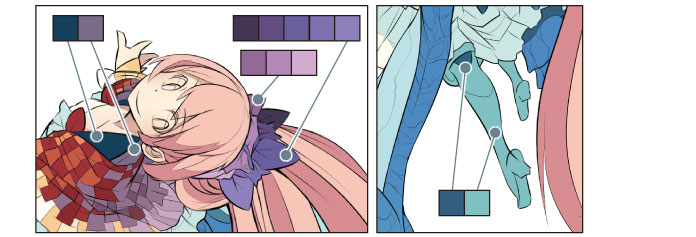
7Fill other areas such as the boots and hair ornament by selecting a drawing color on the [Color Wheel] palette and coloring with the [Fill] tool.
Give the hair ornament depth by using progressively darker colors for the back parts.
8Select the [Pen] tool in the [Tool] palette and color unfilled areas and areas that cannot be colored with the [Fill] tool because there are no border lines.
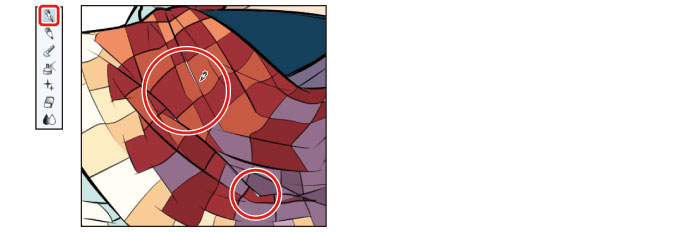
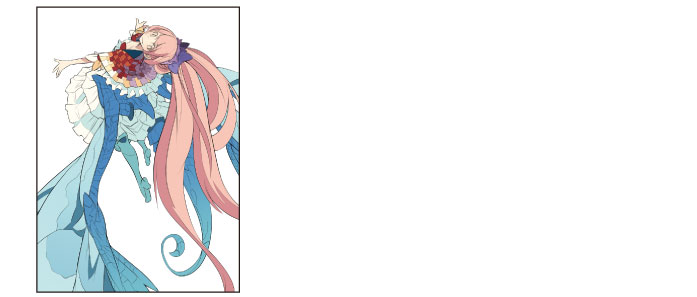
9The clothing is now colored.