Drawing Highlights
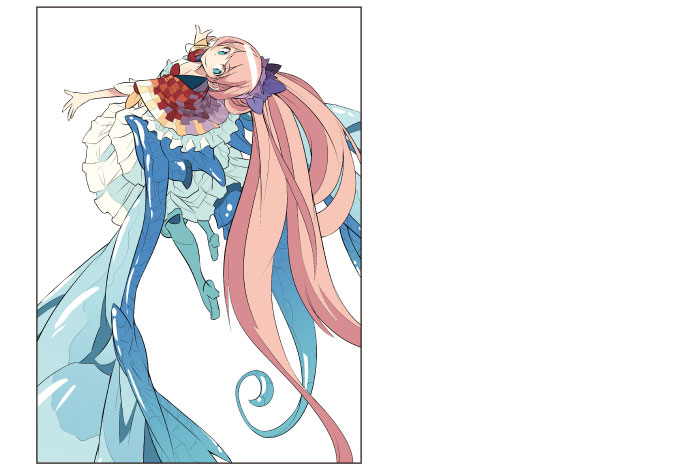
Finally, add highlights to the entire illustration to add depth. Place the highlight layer above the line drawing to make the highlights more lustrous.
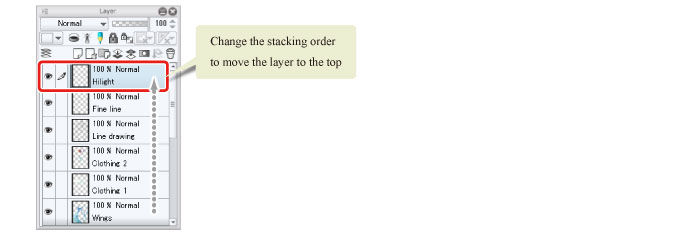
1Click [New Raster Layer] on the [Layer] palette to create a layer. Double click the layer name of the layer you have created and change the layer name to "Highlight".

2On the [Layer] palette, move the "Highlight" layer so that it is above the line drawing layer and all of the other layers.

|
|
With the iPad, move any layers by hovering the mouse cursor over the grip on the right side of the layer and move it. For details, see "Drawing the Fine Details" → "Drawing the Eyes (Combine Layers)" → "Drawing the White of Eye" → "Tips: When unable to move layers on the iPad." . |
3Select the [Pen] tool from the [Tool] palette and select [G-pen] from the [Sub tool] palette.

4Adjust the brush size of the [Pen] tool.
Adjust this in [Tool Property] or select a size from [Brush Size]. Set a slightly thick size for the pen tool so that you can make use of the pen pressure when coloring.

5Select white on the [Color Wheel] palette and add highlights to areas such as the wings and hair, adjusting the brush size as appropriate.

6If you make a mistake or color too far, correct the shape using the [Eraser] tool.

7Once you have finished drawing the highlights, the basic coloring of the character is complete.


