Using Filters
You can use the [Radiation blur] filter to create an effect resembling the focus of a camera. This adds perspective.
|
|
In this example, the [Radiation blur] filter is used to give perspective to the character's wings. The [Gaussian blur] filter can also be used to make the wings blend in with the background. |
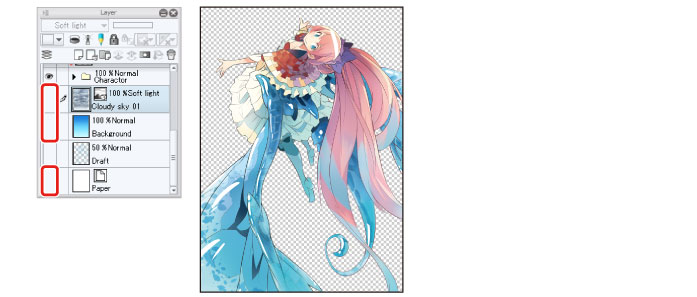
1Hide the "Cloudy sky 01", "Background" and "Paper" layers on the [Layer] palette.
The canvas now shows only the character.
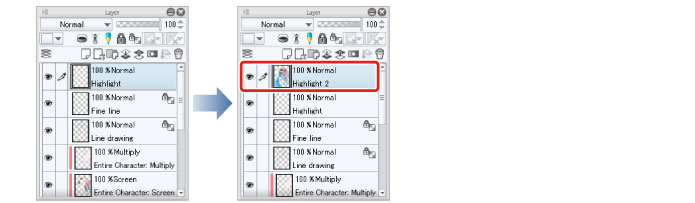
2On the [Layer] palette, select the "Highlight" layer and then select the [Layer] menu → [Combine copies of displayed layer].
A layer called "Highlight 2" is created. This layer contains copies of all of the layers currently displayed on the canvas, combined as one layer.
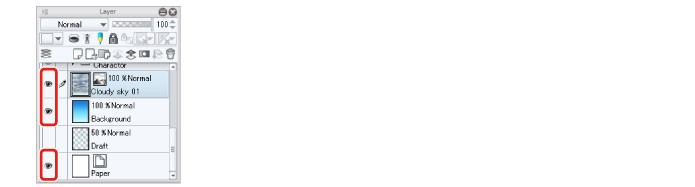
3Show the "Cloudy sky 01", "Background" and "Paper" layers that were hidden on the [Layer] palette.
4While the "Highlight 2" layer is selected, select the [Filter] menu → [Blur] → [Radiation blur].
Drag the red "X" mark displayed on the canvas to a position near the character's face.

In the [Radiation blur] dialog box, set [Area to blur] to "5" and click [OK].

|
|
Checking [Preview] allows you to view a preview of the filter effect. This may take time, as the [Radiation blur] filter is applied by a complex process. |
Blurring centers on the character's face and grows progressively greater further away in areas such as the wings and hair.
5In the [Layer] palette, change the layer name of the "Highlight 2" layer to "Blur" and change the [Opacity] to "30".
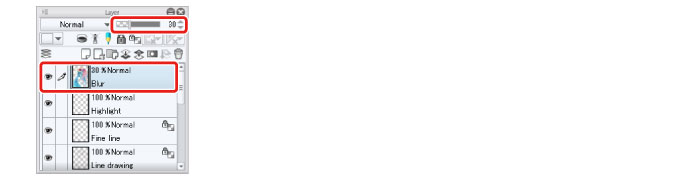
Lowering the opacity of the layer to which [Radiation blur] is applied makes it possible to see the "Character" folder below and adjust the appearance of the blur.
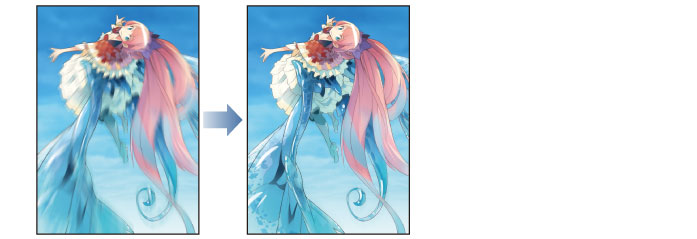
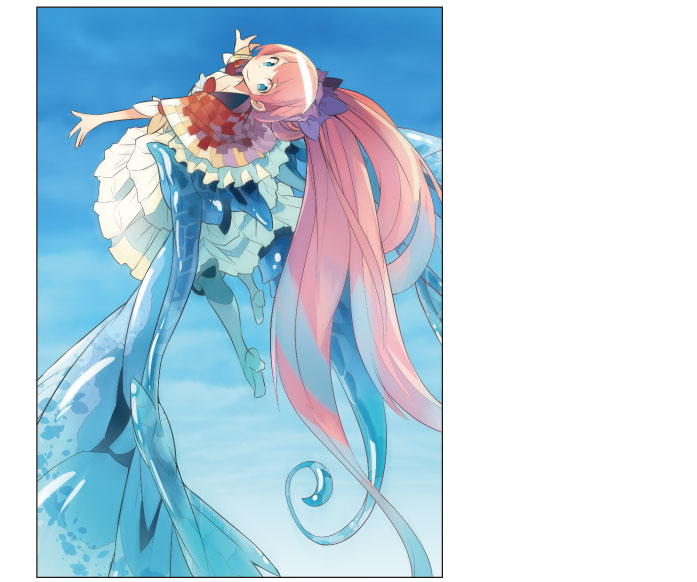
6The illustration is complete.