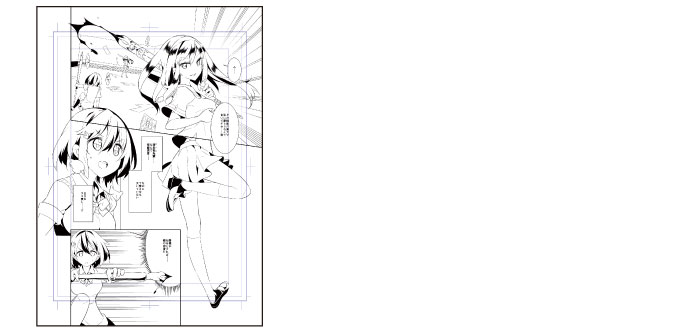
Fill in monochrome
Create a new layer and fill in monochrome using the [Fill] tool.
Creating a Layer for Filling in Monochrome
Create a layer for filling in monochrome and then fill the inked character and background in black monochrome.
1The draft and storyboard will not be used from this point onward, so hide the "Draft" layer and "Storyboard" layer on the [Layer] palette.
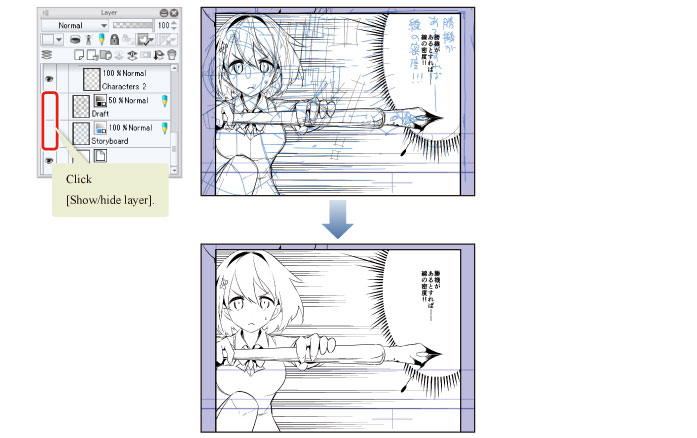
2Click [New Raster Layer] on the [Layer] palette. Change the layer name of the created layer to "Fill".
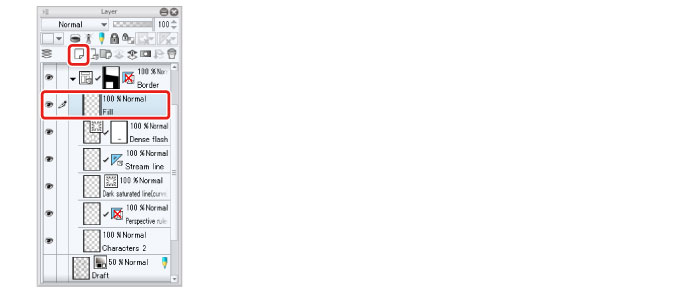
3Select the [Pen] tool and draw the border lines of the area for filling in monochrome.

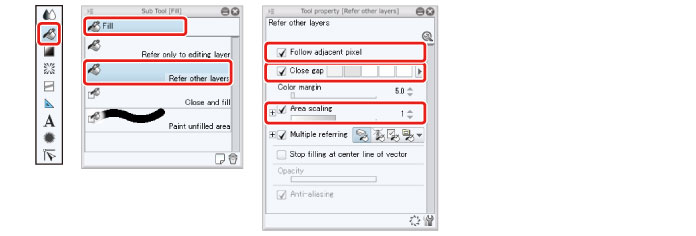
4Select the [Fill] tool and then select the [Sub tool] palette → [Fill] → [Refer other layers]. Configure the properties on the [Tool Property] palette as shown below.
5Click the areas of the content drawn on the "Characters 2" layer to be filled in monochrome and fill the areas.
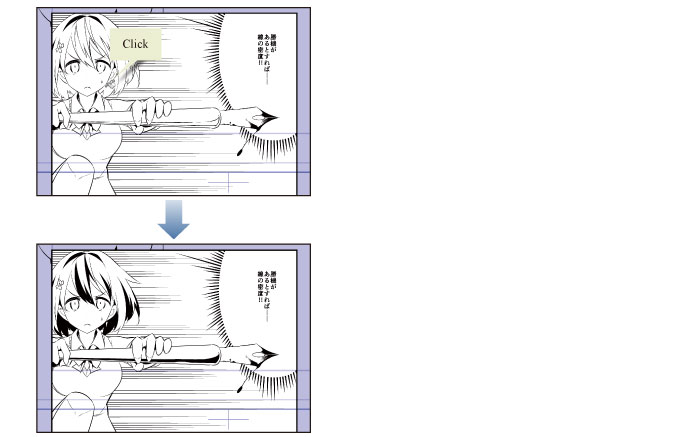
6Repeat this process to fill Frames 1 and 3 in monochrome. Select the "Characters 1" layer on the [Layer] palette and click [New Raster Layer] to create a new layer.
Change the layer name of the created layer to "Fill 2".
7Follow the same process to fill in monochrome using the [Pen] tool and [Fill] tool.

8Filling in monochrome is complete.
